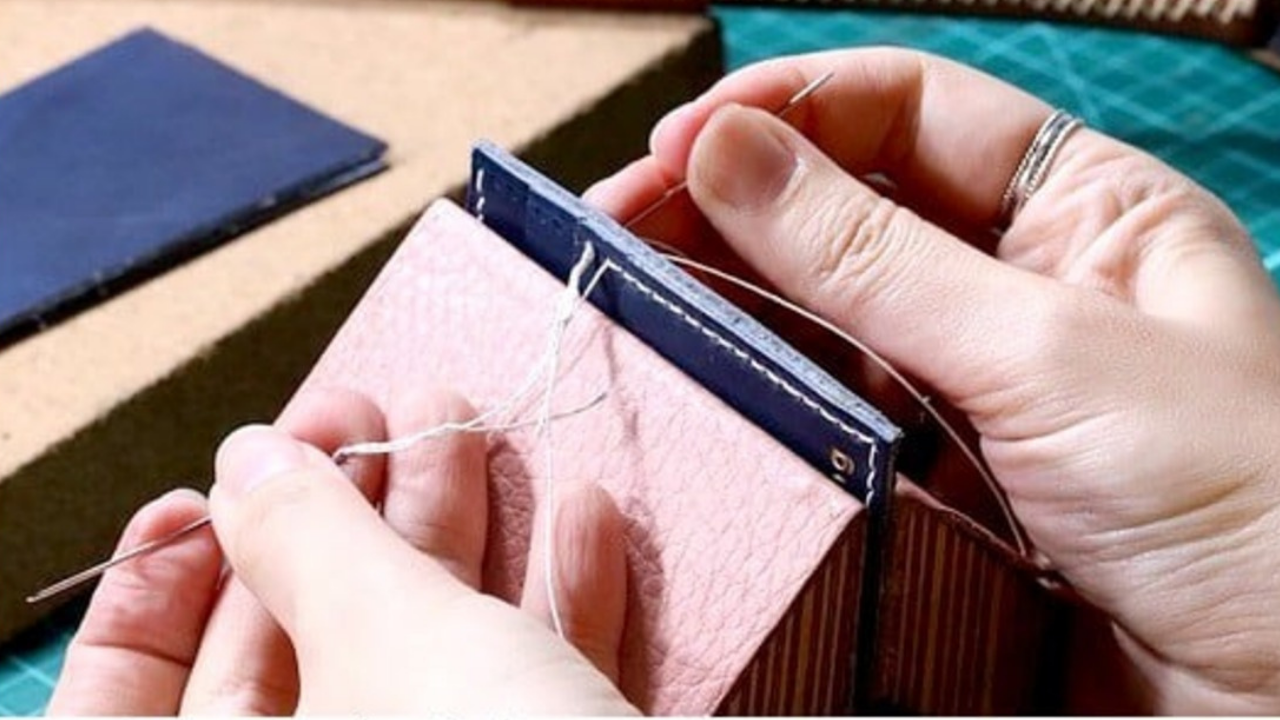
Open Stitching Repair
Repairing open stitching on leather goods help restore the functionality and appearance of items. Here's a step-by-step guide to repairing open stitching on leather goods
1. Assessment
We examine the leather item carefully to identify areas where the stitching has come undone or is loose.
2. Thread Selection
We choose a thread that closely matches the colour of the leather. We ensure that it is strong and durable, as leather requires sturdy stitching.
3. Repair Loose Stitches
For loose stitches, gently stitch by sewing machine the thread through the existing stitch holes, tightening the loose stitching as you go.
If the thread is completely detached, join the leather parts and start by sewing machine stitching, aligning the holes where the stitching should be.
Pull the thread through and continue stitching, following the pattern of the existing stitches.
4. Secure the Ends
When we are finished repairing the stitching, tie a secure knot on the backside of the leather to prevent it from unraveling. Double-knot it for extra security.
5. Trim Excess Thread
We use scissors to carefully trim any excess thread, ensuring it's flush with the leather surface.
6. Leather Conditioning
If the leather appears dry or damaged, we apply a leather conditioner to the repaired area. This helps moisturize and protect the leather.
7. Inspect and Test
We examine the repair closely to ensure that the stitching is secure and the leather looks neat. Test the item to make sure it functions as intended.